Is Landscape Lighting Worth It? (Here’s Why It Is!)
Thinking about adding some landscape lighting to your yard but wondering if it’s really worth it?
We get it. It’s an investment, and like any investment, you want to know you’re getting your money’s worth. Sure, it might seem like just another home upgrade at first glance – something nice to have but not totally necessary.
But here’s the thing: landscape lighting is SO much more than just a pretty addition.
In this post, we’ll break down exactly why landscape lighting is totally worth it.
#1 It Makes Your Home Look Amazing
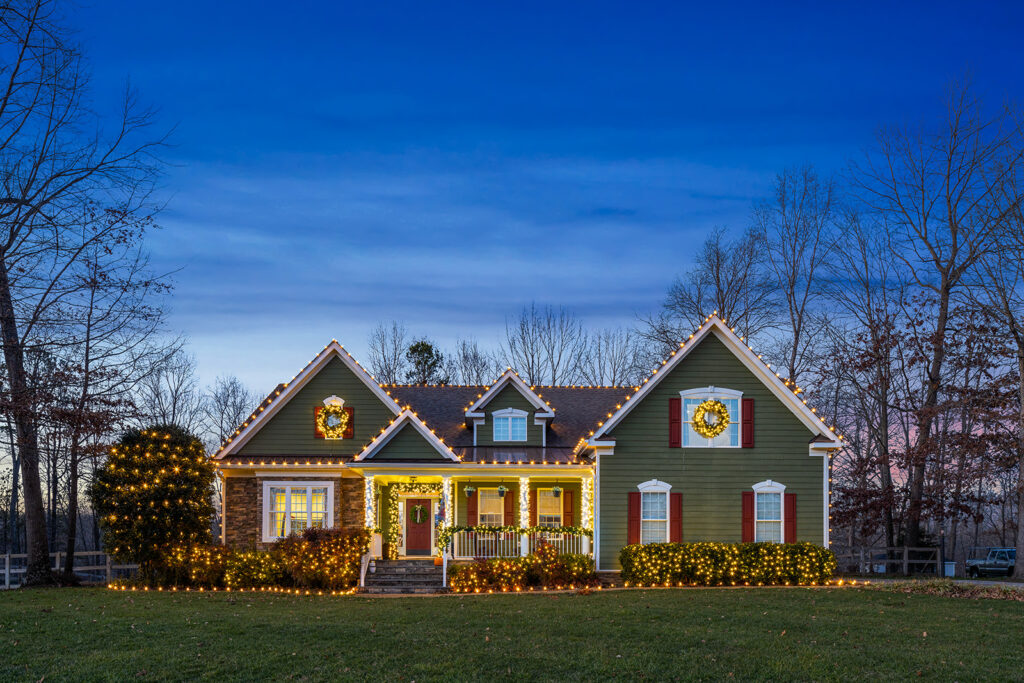
Let’s start with the obvious – landscape lighting makes your home look SO good at night.
Think about it. During the day, your house might look nice, but at night? Without lighting, it just kind of fades into the background.
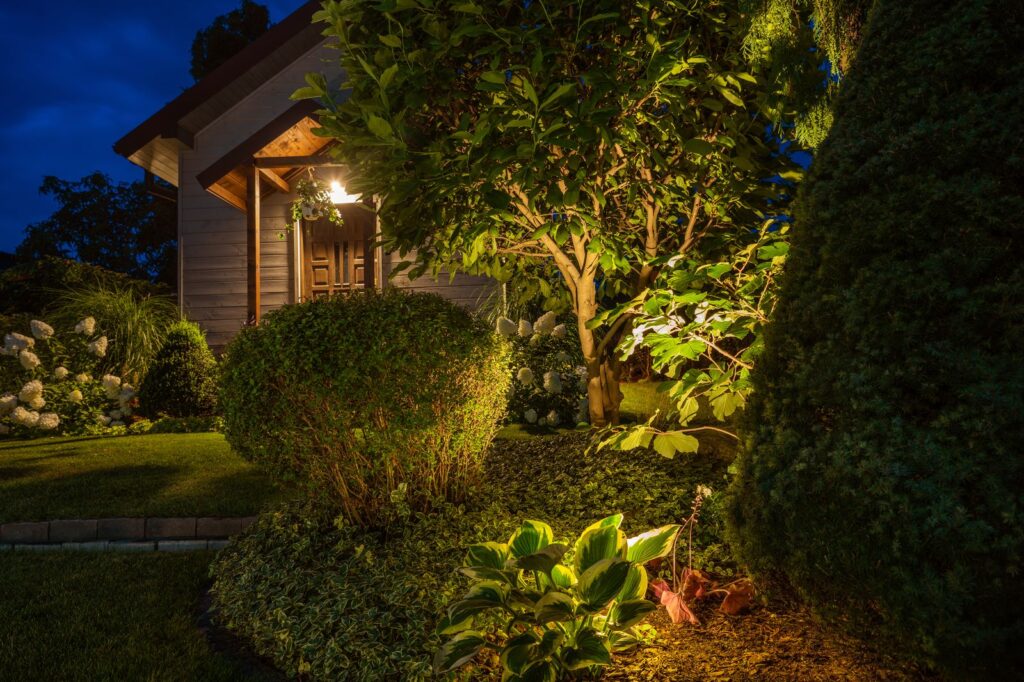
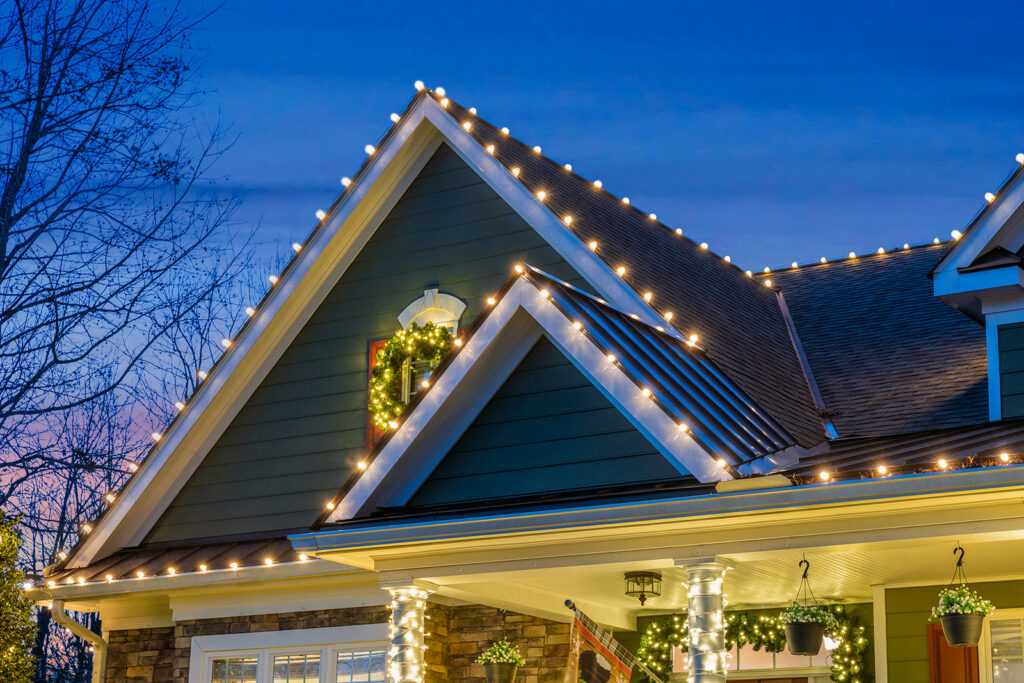
Adding some well-placed lights can highlight the best features of your home.
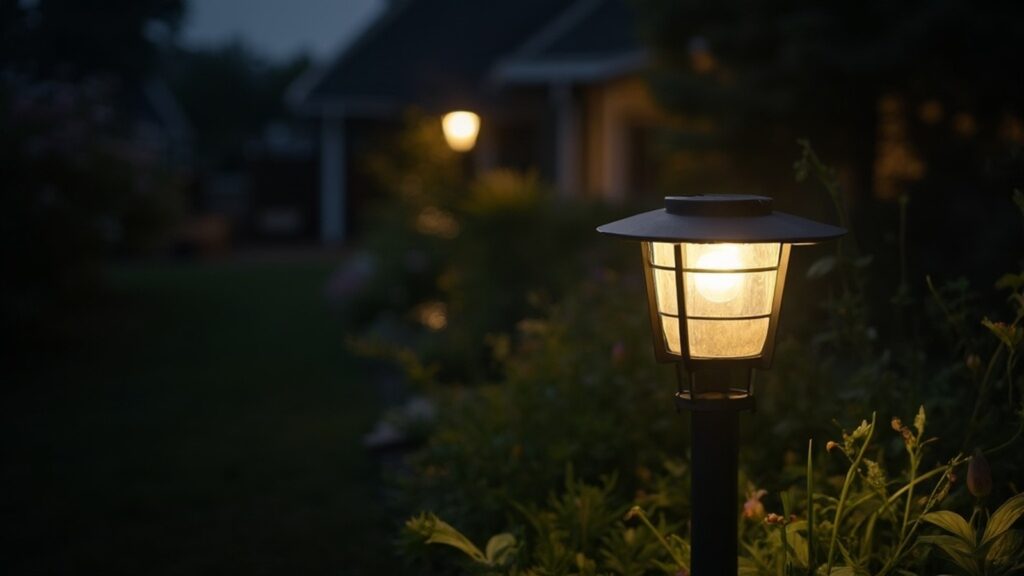
For example, you can use uplights to show off trees or architectural details like columns or textured walls. Pathway lights can guide the eye along walkways and create a warm, inviting vibe.
And don’t forget about accent lights—they’re perfect for showing off flower beds, water features, or even sculptures if you’re fancy like that.
The best part? You don’t need to go overboard.
A few strategically placed lights can make a huge difference. Trust us, when you pull into your driveway at night and see your home lit up beautifully, you’ll feel like you’re living in a magazine spread.
Also Read: How Much Does Landscape Lighting Cost In Virginia?
#2 It Enhances Your Home’s Security
Now, let’s talk about something practical: security.
A well-lit yard makes it harder for anyone with bad intentions to lurk around unnoticed. Intruders prefer darkness because it gives them cover. Take that away, and they’re less likely to stick around.
Motion-sensor lights are a great option here. They turn on automatically when someone approaches, which can startle potential intruders and alert you to movement.
Plus, they save energy since they’re not on all the time.
Floodlights are another solid choice if you want to keep larger areas visible.
Even if no one ever tries to break in, the added layer of security gives you peace of mind. You’ll feel safer knowing your home is well-lit and less vulnerable.
#3 It Helps Prevent Accidents
Accidents happen all the time, especially when you’re walking outside at night.
Ever tripped over something you didn’t see? Yeah, not fun.
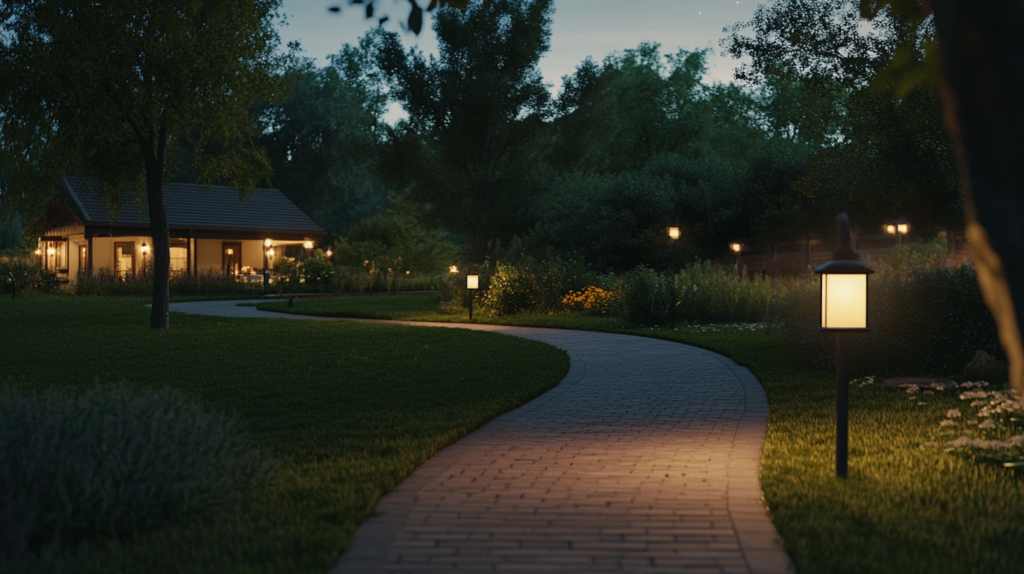
Landscape lighting is a simple way to avoid these mishaps. Here are a few spots where lighting can really make a difference:
- Stairs and steps
- Walkways and pathways
- Driveways
- Pool areas
It’s not just for your safety, either. If you have guests over, it’s nice to know they won’t trip on their way to the front door.
Plus, if you’re the type to enjoy late-night strolls in your yard or garden, lighting can make it way more enjoyable (and less dangerous).
Also Check Out Our: Residential Landscape Lighting Services
#4 It Extends Your Outdoor Living Time
Outdoor living is one of those things that most people love but can’t always enjoy to its full potential.
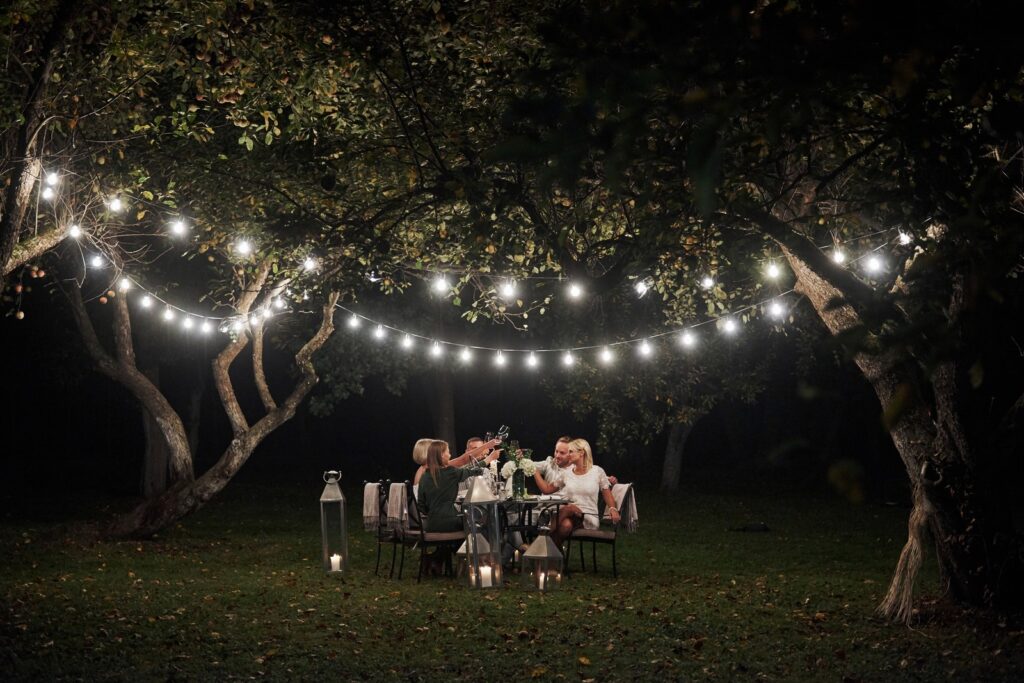
If you’ve ever wanted to sit outside and chat or enjoy a meal after the sun goes down, landscape lighting can make that possible. Imagine hanging out in your backyard with the perfect, soft glow of lights around you. It makes everything feel cozy and chill.
With landscape lighting, you can entertain, relax, or even work outside well into the evening.
It’s not just about the looks; it’s about turning your yard into an actual space you can use more often, regardless of the time of day.
#5 It Adds Value to Your Property
Who doesn’t love an upgrade that adds value to your home?
While landscape lighting isn’t going to raise your property value by the same amount as a full-on kitchen renovation, it can still make a difference.
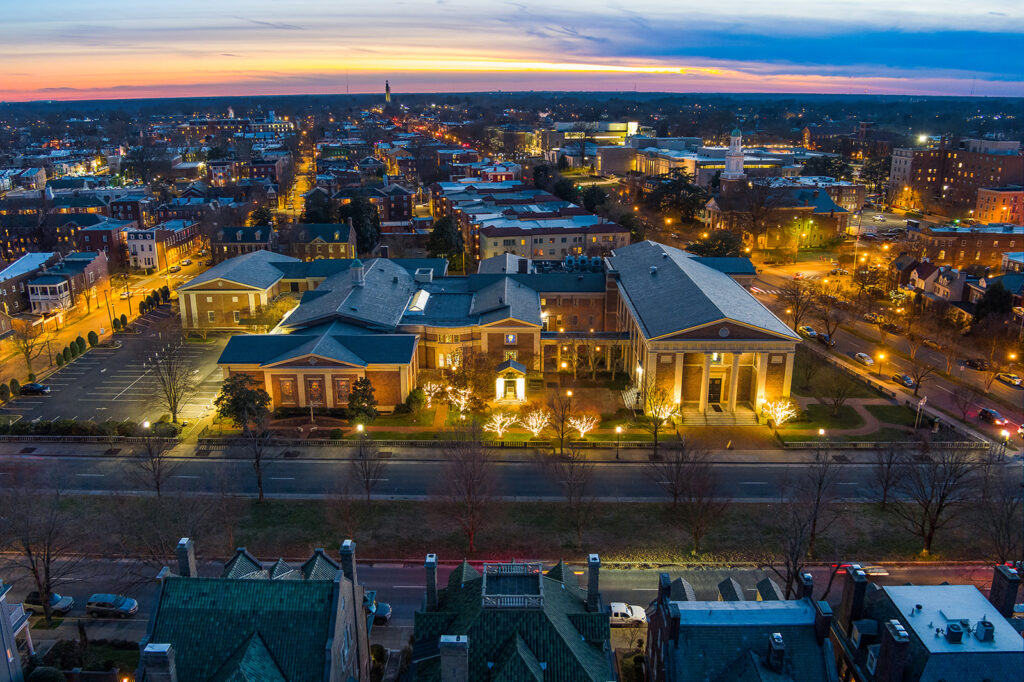
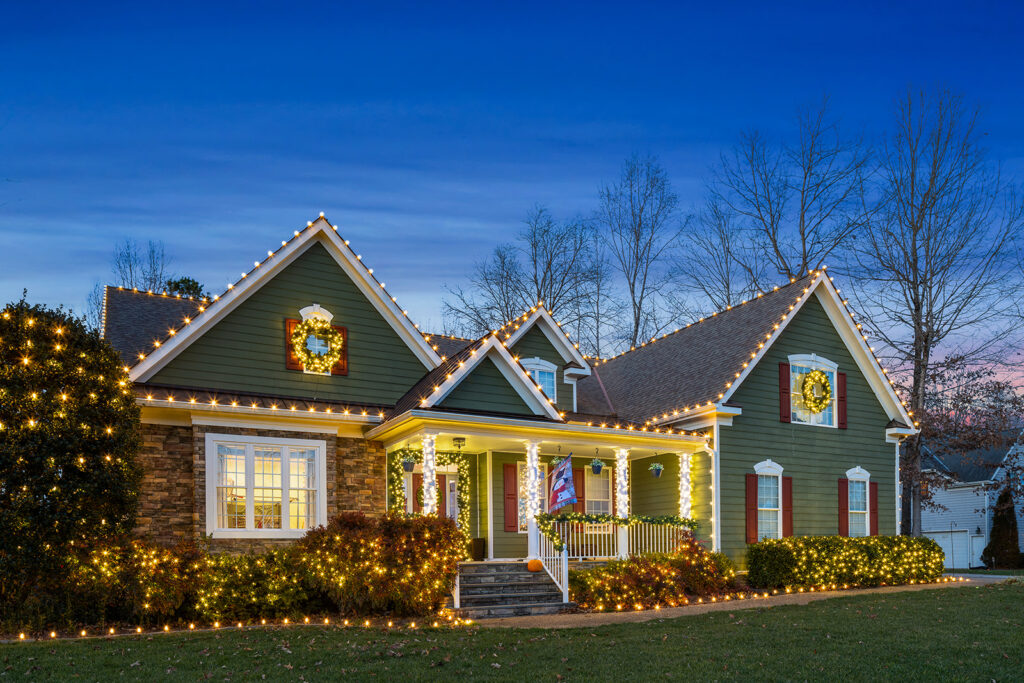
When buyers see a beautifully lit yard, they might be more inclined to picture themselves living in that space. It gives off a vibe of luxury and care, which can absolutely make your home stand out from others.
Plus, it’s an upgrade that’s not too expensive compared to other home improvements.
So, if you’re thinking of selling down the road, you’ll have a better shot at a quicker sale with an extra “wow” factor.
#6 It Sets the Perfect Atmosphere
One of the most subtle yet powerful reasons to consider landscape lighting is the atmosphere it creates. Lights have a magical way of setting a mood, right?
A warm, ambient glow in your yard can make it feel like an intimate escape.
You could use different types of lighting for different vibes – soft and romantic for a cozy dinner outdoors, or bright and fun for a party.
Lighting can transform your outdoor space into whatever you want it to be. Plus, when your home looks gorgeous at night, it’s hard not to feel a little proud every time you come home!
When Landscape Lighting Might NOT Be Worth It
As much as we’ve been singing its praises, landscape lighting isn’t for everyone. There are a few reasons why you might want to hold off on installing it.
Also Read: Is Uplighting Worth It?
Consider these points before making the decision:
- If you’re on a tight budget and need to prioritize other home improvements first, landscape lighting might not be the best choice.
- If you live in an area with a lot of light pollution, it might not have the impact you expect.
- If your outdoor space is small or minimal, you may not get enough value from the lighting to justify the cost.
- If you don’t like maintenance, the upkeep of lighting fixtures could become a hassle.
- If you’re renting and don’t plan on staying long-term, it might not make sense to invest in permanent lighting.
Wrapping Up
So, is landscape lighting worth it? For most people, absolutely.
Sure, there are a few cases where it might not be the best fit, but for the majority of homeowners, the pros far outweigh the cons. Plus, you don’t have to go all-in right away. Start small, experiment with different styles, and build up over time.
At the end of the day, your home should be a place you love coming back to. And if a little lighting can make it feel warmer, safer, and more inviting, why not give it a shot?
Trust me, once you see your yard glowing at night, you’ll wonder how you ever lived without it.