How To Design Landscape Lighting (Guide)
So, you’ve decided to spruce up your outdoor space with some landscape lighting?
Great choice! A well-lit yard doesn’t just look great—it makes your home safer, more inviting, and way more functional after the sun goes down.
But where do you even start? Don’t worry, we’re here to help!
In this post, we’ll show you how to design landscape lighting that looks amazing and practical.
Table of Contents
Toggle#1 Pick The Spots You Want To Light Up
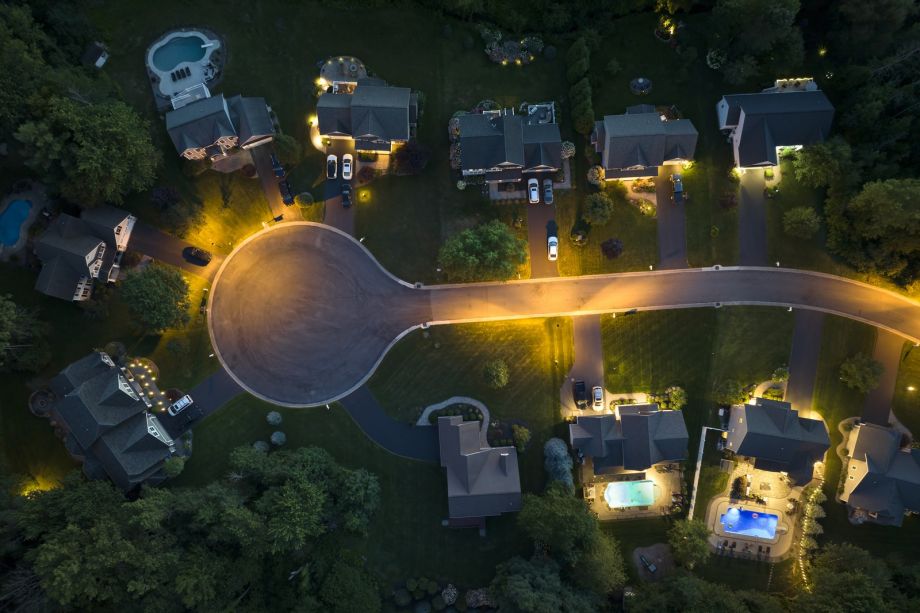
The first thing to think about when planning your landscape lighting is what you want to highlight. You don’t have to light up the whole yard, just the parts that are important or look best at night.
Maybe it’s your front door, so guests can find their way easily. Or maybe it’s that gorgeous tree in your backyard that deserves to be the star of the show.
Walk around your property at night and think about what catches your eye.
Is there a pathway that could use some guidance lights? A garden bed that needs a little glow?
Start jotting these ideas down.
Once you’ve figured that out, consider how you want those spots to feel. Do you want your backyard to feel welcoming and warm, or do you prefer something more dramatic and spotlighted?
These decisions can help guide the type of lighting you use later on.
Also Read: Where to place landscape lighting?
#2 Choose The Right Type Of Lighting
Now comes the fun part: picking the right type of lighting.
There are a few main types of landscape lighting, and each has a different effect on your space:
- Ambient lighting creates a soft, overall glow, perfect for general lighting in your yard.
- Task lighting is focused and helps you see specific areas, like pathways or grilling spots.
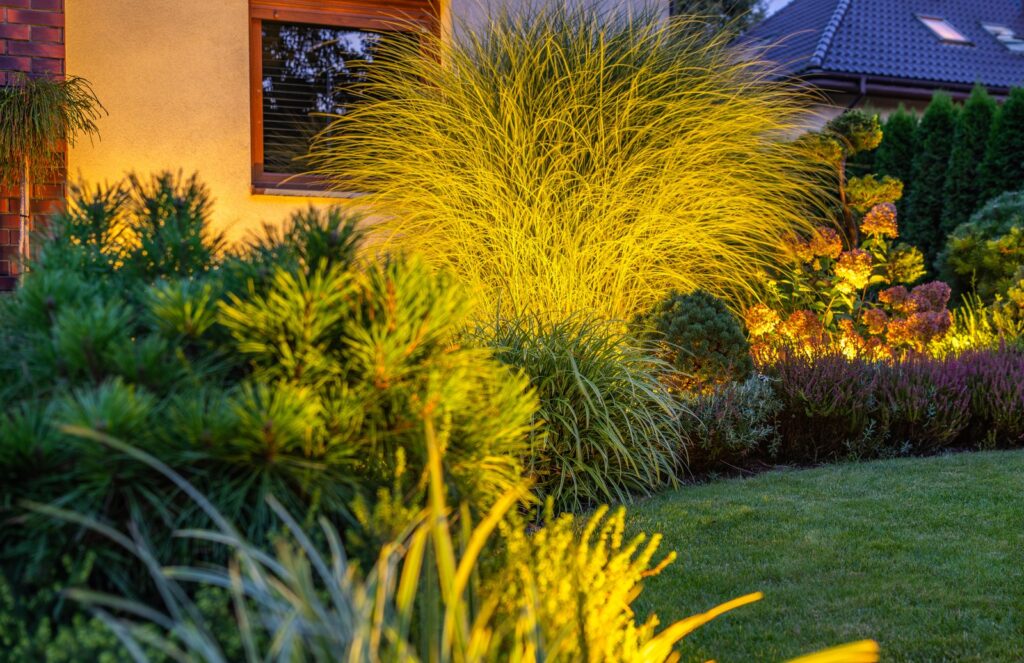
- Accent lighting draws attention to specific features, like trees, statues, or water fountains.
- Decorative lighting can be anything fun or whimsical, like string lights or lanterns. They add personality and charm.
The important thing here is balance. Too much of one type can make things feel overdone or too dark in places. It’s like creating the perfect playlist – you want a good mix.
#3 Pick Out The Best Fixtures

Once you know what kind of lighting you need, it’s time to pick the right fixtures.
You want something that matches your space and your goals.
For example, if you’re lighting up a pathway, you might go with low-voltage pathway lights. If you’ve got a tree to highlight, a spot light might work best.
Fixtures come in different finishes, like bronze, stainless steel, or plastic. Make sure you choose materials that can withstand the weather in your area. You don’t want your lights to rust or fade after one season.
We recommend fixtures that are rated for outdoor use and have a waterproof rating. The last thing you want is to spend time and money on lights that stop working after a few rainstorms.
Also, don’t forget to think about the height and angle of your fixtures.
You want the light to fall exactly where you want it. This can take a little testing and adjusting, but trust me, it’s worth it when you see the effect you’re going for.
Also Read: Is Landscape Lighting Worth It?
#4 Map Out Your Lighting Plan
Now that you’ve got a rough idea of what you want, it’s time to put it all together.
Grab a piece of paper (or your phone) and sketch out a simple map of your yard. Mark where you want to place each light and what type it’ll be.
This step might feel a little tedious, but trust me, it’s worth it.
Having a plan helps you avoid mistakes like buying too many lights or ending up with uneven coverage. It also makes installation way easier. If you’re working with a professional, this map will help them understand exactly what you’re envisioning.
Plus, it’s satisfying to see everything laid out in front of you. Like a treasure map, but for awesome lighting.
Some Tips For Mapping The Lights
Make sure to space the lights far enough apart that they’re not too bright or dim, and try to keep them in places where they won’t be tripping hazards. If you’ve got a long driveway, for example, you can place lights along the edges for safety, but don’t overdo it.
A good rule of thumb is to place lights where they’ll add to the atmosphere without drawing attention to the lights themselves.
You don’t want the fixtures to steal the show – they’re just there to enhance the space.
#5 Think About Practical Stuff

It’s easy to get caught up in making your landscape look amazing, but don’t forget about the practical stuff like:
How are you going to power all these lights?
Are you running electrical wires or using solar-powered lights?
If you’re going with electrical lighting, you’ll need to make sure you have a safe, weatherproof outlet or transformer. If you’re not comfortable dealing with electrical work, it’s a good idea to hire an electrician to help you out.
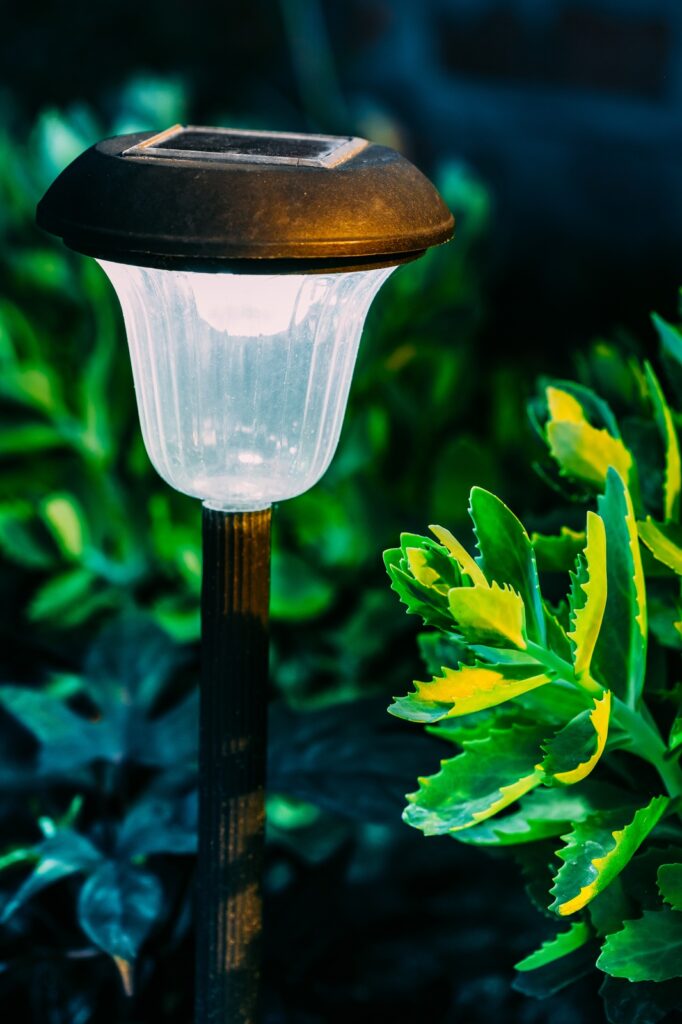
On the other hand, solar lights are easy to install and don’t need any wiring. The downside is that they can be a little less powerful than electric lights, and they rely on sunlight to charge during the day.
So, if your yard has lots of shade, solar lights might not be the best option.
You’ll also want to think about the placement of the lights in relation to where you’re getting your power source. The last thing you want is a tangled mess of wires running across your yard.
Take time to plan your wiring system or solar light placements so everything stays neat and functional.
Also Read: How Much Does Landscape Lighting Cost?
#6 Incorporate Control Systems
A control system is a great addition to your landscape lighting.
There are lots of smart lighting systems available these days that allow you to control your outdoor lights with your phone or even with voice commands.
Imagine being able to adjust your garden lights without leaving the couch!
Another option is using timers.
Timers are a simple way to set your lights to turn on and off automatically. This can save you energy and help create a consistent lighting schedule, which is especially useful if you’re not home every evening.
If you really want to get fancy, you can even set up different lighting scenes. For example, a bright light setup for when you’re having a party, or soft, subtle lights for a quiet evening outside.
#7 Watch Out For Light Pollution
Lighting is great but there’s a balance to strike.
Over-lighting your yard or using lights that spill into the sky can contribute to light pollution.
This is when excess light interferes with the natural darkness of the night sky, which can disrupt wildlife and even affect your sleep patterns.
To avoid this, make sure your lights are directed exactly where you want them, not spilling all over the place. Shielded fixtures can help with this, and be mindful of the brightness of your lights. You don’t need a stadium’s worth of light in your yard.
A subtle, well-placed glow is all you need for a magical effect.
#8 Keep Maintenance In Mind
Like any part of your home, landscape lighting needs some TLC.
It’s important to clean the fixtures regularly and check that all the bulbs are working. Over time, the lenses can get cloudy, and dirt can build up on the lights, reducing their effectiveness.
A little cleaning once a season can keep everything looking fresh.
Also, make sure to check the wiring (if you’re using electric lights) for any damage or wear and tear. Outdoor lighting can last for a long time, but you may need to replace bulbs or fix a light fixture here and there.
If you’re using solar lights, make sure the solar panels are clean and get enough sunlight.
Wrapping Up
And there you have it – everything you need to design a killer landscape lighting setup.
Start by picking the spots you want to highlight, then choose the right type of lighting and fixtures for each area. Map out your plan, think about practical details, and incorporate smart controls if you’re into that.
Be mindful of light pollution, and don’t forget to factor in maintenance.
Take your time with each step, and don’t stress too much.
Once you’re done, grab a drink, sit back, and enjoy the view. Your yard is about to become your new favorite hangout spot.
Our Blogging Experts

James Zogran – Head of Operations
At Dominion Lightworks, we’re a team of experienced lighting professionals dedicated to providing exceptional lighting solutions for residential and commercial properties.
Our Locations
Christmas Lighting in Richmond, VA
1394 Manakin Rd
Manakin Sabot, VA 23103
Mon-Fri 7 am – 10 pm
Sat-Sun Closed
Landscape Lighting in Richmond, VA
595 Weaver Brook Walk
Ridge, VA 23233
Mon-Fri 7 am – 10 pm
Sat-Sun Closed


